請輸入想查詢的單字或片語
sink down
US
・UK
A2 初級
phr. v.片語動詞下沉
The sun began to sink down in the west.
phr. v.片語動詞倒下
She sank down onto the sofa, exhausted.
影片字幕
說英語完美美式英語口音的簡單練習 (Speaking English: Simple Exercises for a PERFECT American Accent)

- You can feel it sink down.
你能感覺到它在下沉。
8 個簡單的單板滑雪技巧,讓你看起來更酷 (8 EASY SNOWBOARD TRICKS TO LOOK COOL)
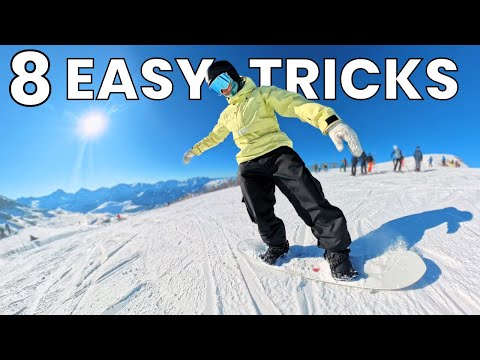
- When you sink down to get the grab your hips will be shooting back behind the board so to counteract that at the same time you need to really fall forward over the board in order to rock it onto the toe edge.
當你下沉抓住木板時,你的臀部會向木板後方彈回,是以為了抵消這種情況,你需要同時向前撲倒木板,以便將木板搖到腳尖邊緣。
如何在一天內滑雪 | 20 個技巧 (How to Ski in a Day | 20 Tips)
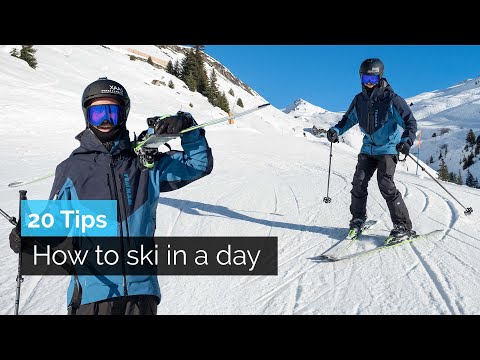
- It's rather easy Good skis position and then you sink down a little bit and explode up Just like that.
滑雪板位置很好,然後往下沉一點,再往上衝 就這樣。
- And do it to challenge your posture So if you sink down, jump a little bit, find a good skis position, then try again What?
所以,如果你的身體下沉,就跳一下,找到一個好的滑雪板位置,然後再試一次。

特蕾西-埃利斯-羅斯(Tracee Ellis Ross)分享她的標誌性購物迷戀 | The Good Buy | Harper's BAZAAR (Tracee Ellis Ross Shares Her Iconic Shopping Obsessions | The Good Buy | Harper's BAZAAR)

- There's nothing like your fitness videos to make me like the sink down and be like I need to get myself together.
沒有什麼比你的健身視頻更能讓我沉下心來,覺得我需要振作起來。
如何在溝谷、天然半管和傾斜斜坡上滑雪 (How to Snowboard Gullies, Natural Halfpipes, Tilted Slopes)
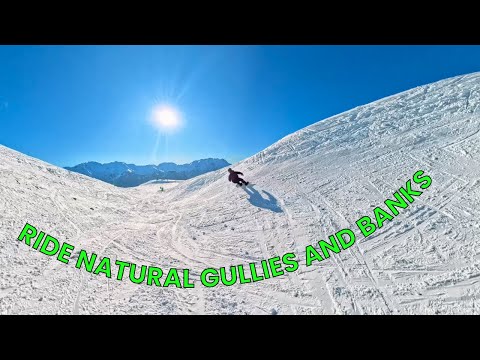
- That's going to make you naturally want to sink down a little bit lower anyway.
無論如何,這都會讓你自然而然地想往下沉一點。
紐約為何成為美國人口流失最快的州? (How New York Became America’s Fastest Shrinking State)

- it has continued losing members of the House every single decade ever since, including in 2020 when it lost another seat to sink down to only 26 seats still remaining.
它從那之後的每一屆十年都持續減少眾議院席次,包括2020年又少了一個席次,只剩下26席。
單板滑雪中級教程(THE HOOK) (Intermediate Snowboard Tutorial (THE HOOK))
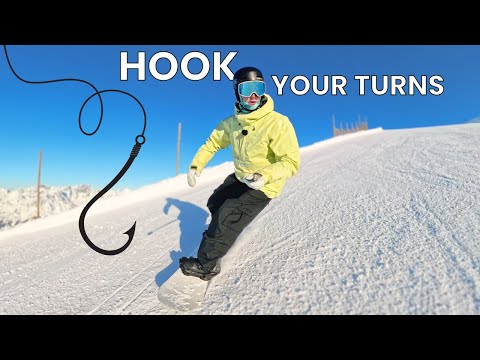
- Here I'm kind of quite tall and then as I lean into it I just sink down the wind is picking up and push into it.
在這裡,我的個子比較高,當我靠上去時,我就會順著起風的方向往下沉,然後推到它。
- So starting with this exercise once again I'm going to release that front knee release that front hip, board points down the slope and as I tuck that knee and that hip back in to get the board gripping and pulling me up that's going to be a bit of fore pressure simply by bending my front knee feeling my front shin pressing into the front of the boot that's going to put pressure under the board at this top part and that's going to get it gripping and pulling up but then as it starts pulling up as it's turning back up the slope that foot's kind of done its job and I'm just going to shift my weight a little bit to my back leg and just push a little bit of pressure through that back leg and that's going to drive the board even further up and when people talk about getting pop and snap out the turns it's because you kind of load the board up we've got this camber section under the board even if you've got a hybrid or a rocker section when you're in a turn you bend against that and if you push through this back leg a little bit you really apply pressure for it and it kind of pops you out the turn at the end so we're not quite making an edge change at the end yet I want you to try and feel that kind of popping sensation where the board sort of pops you up and out I just let these guys pass and in we go so into that front foot we'll grip and then kind up out of that back foot at the end and if you get that you're going to feel the board really kind of shooting you up out the slope in that last bit same idea in the heels pressure on the front foot for grips push away from that back foot and you can see that's where I'm extending up as well right now I'm quite low it's gripping and I push against it that extending on what will come the latter part of the turn and push up against it okay so we're now going to try and bring this sensation into the turn and I'll show you how it's going to help you with your edge change it's a little bit mellow here this works kind of well on slightly steeper sections which I'm coming onto now right another small group of skiers coming past and then we'll get into it so the moment I want to make that edge change is as soon as the board starts pointing up as soon as I push against that back leg now I'm going to push off that back leg and I like to say it's it's like you're pushing off a diving board yes there's extension but now it's not just going to be straight up against the board it's going to be up and pushing my center of mass away pushing it down the slope so that I can launch myself into that edge change so coming round and push up over we go into that edge change okay and you can just try this with sort of one turn at a time really kind of feel that sensation get the timing and the coordination of this rhythm so on the toe side sink into it push up and away and round we come so you might just be able to see it behind me there my track what this is allowing us to achieve is this hook and it doesn't always have to be back up the slope at least if you just come across the slope and do what we call closing the turn or finishing the turn that's going to be really good but the reason that this is so helpful it not only allows you to grip fully through the turn but if you do bring that board back up the slope high up the slope you're getting onto your edge even earlier in the turn which is a great thing because it means you're then in control of what the board is doing it gives you more time to sink down and get into a strong position and steer the board through the turn but the thing I really like is because when we're turning all we're doing every single edge change is crossing our center of mass over the board there's this kind of constant dance between our turn shape and our center of mass passing back and forward over it and if you can get the board to come back up the slope you're essentially bringing the board back up towards you back up towards your center of mass and therefore the movement with your upper body doesn't actually have to cross as far over the top of it and if we just come back to what I was talking about at the start of the lesson with what I was seeing in some of my clients if you make the edge change and you don't keep driving the board through the turn so let me just kind of do that now coming around made the edge change but now I kind of get a bit lazy my board's going down this way essentially my body needs to cross over it there as well and that's kind of quite a big movement that I have to make and when you're on steeper slopes you know the slope's really going down that movement becomes even bigger and if the board's getting away from you and you're trying to kind of get over the top it becomes quite scary and you might notice there I ended up a little bit on my back foot and it's so much easier if you actually just keep that board pulling back up through the slope as well so we're going to bring this into some turns and this can work if you're on a more mellow slope with carve turns as well it's a little bit steeper here so I'm not going to purely carve them there'll be a bit of rotation through the board but I can still get the board gripping and coming back up the slope at the end so let's get into it coming around up the slope over we go that's the hook right there push off it from that back foot push off that back foot push up and off that back foot so I lost my timing a bit a little bit there so anyway make a few without talking I'll give you a bit of demo shut up okay okay up we come over we go more mellow here so I'm not doing it here I'm doing more open turns it's about to get a little bit steeper down in this next section see how the snow is hasn't snowed for a while here we've got some icy patches there this will later become a real south facing slope which means it's been getting a lot of sun kind of melting and refreezing a little bit but it's pretty good right now it's pretty grippy so hopefully you can see that bit there me pushing up and against it getting that hook that's what we really want to achieve because it allows me right there to get on my new edge nice and early right there on my new back foot works incredibly well with knee steering I'm not going to go fully into knee steering something I've talked about in my other videos and I'll link a bunch of knee steering videos down below but it is essentially where every edge change your front knee passes over the top of the board first and your front hip as well and your back knee and hip follows and what this does I'm going to grab a seat over here and what that does is sometimes called foot pedaling which is basically where your front foot passes over the board first and then your back foot rolls after and if what you think we're doing here at the end part of the turn I'm pushing through my back foot so I'm on the heel edge I'm pushing through this back heel right here that's driving the board back up the slope and because I'm pushing through that back heel pushing through my back foot that takes all the pressure off my front foot and my front knee and hip at the same time that I'm pushing through the back foot are already passing over the top of the board starting that edge change and then by the time I've extended away from that back foot I've got that board gripping and driving up the slope it's done its job the front knee and hips already passed my shins pressing into the front of the boot of my toe side I'm getting that toe side gripping pulling me into the next one that takes the pressure takes away off my back foot my back foot can roll over smoothly I start leaning into the toe side and then I'm just going to shift my weight gradually throughout the turn towards that back foot to once again drive me up the slope at the end of the toe side let me spin around so you can see this happening at the end of the toe side turn once I have some space back knee hip is going to be driving you back up the slope at that point allowing you to pass your front knee and hip over the board for the edge change and then allowing you to kind of dive into this turn and that if you get the timing of that right will essentially progressively shift your weight from the front of the board right here to the back of the board throughout the turn and give you that nice shift of fore to aft throughout the turn without you having to think about kind of leaning to the front or leaning to the back and then that will give you the sort of maximum grip through your board so coming in pressure on the back foot push off it as my front knee and hip passes over the board push off the back as my at the end so really useful when the slope's a bit steeper once again it's flatter now I'm making these open turns but as soon as you're on kind of I don't know anything sort of blue and above it's really nice just to try and feel that sensation it's something I love doing and it's going to give you this really smooth s-shaped turn it's good for you to be a little bit more dynamic on the board making these kind of pushing and sinking down movements when you want to start in powder things like that that really helps you can kind of push against the snow push yourself up and out of the powder as well so a bit more techy a little bit more in depth today I hope you've enjoyed this video apologies that I've still been in the shade I normally like to always try and film when the sun's fully up but this hasn't quite got over the top of these mountains yet if you've got any questions guys drop them in the comments down below I know I don't get to reply to all of them but I do promise you always kind of read through them and I love hearing your ideas you know I've made well over 100 videos now sometimes I get a bit stuck for what else to talk about um so you know things you have I definitely want to get to them a common one I get is riding trees and guys unfortunately although there are some areas where there's trees here it just rarely snows to that low of an altitude so if we look across the valley you can kind of see all the white stuff on this above but there's basically no trees there and essentially kind of where the trees start growing and if you look further down to the valley and I appreciate you can't see very well off this camera there's just no snow there the kind of snow line at the moment tends to hover around 2,000 meters and if we drop below 2,000 meters it's just been raining so there's no snow in the type trees which is why you know it's great for me I have these big open areas I know a lot of you watching uh you know you're in the trees as well I will try and make a video that kind of covers the type turns in in that kind of slightly different terrain that you get there and you know fingers crossed hopefully we get some cold temps and some snow down low that allow me to make a video on that anyway I'll leave it there thank you for watching and I'll finish with a few turns oh lovely so huh
所以,從這個練習開始,我要再次鬆開前膝,鬆開前臀、木板指向斜坡,當我把膝蓋和臀部向後收,讓木板夾住我並把我拉上去時,前膝蓋彎曲,感覺到前脛骨壓到靴子前部,這將會給木板前部帶來一點壓力但當它開始向上拉時,我的腳已經完成了它的工作,我只需將重心稍稍移到後腿上,通過後腿施加一點壓力當人們談到轉彎時的彈跳和扣動時,那是因為你給衝浪板加載了負荷,我們在衝浪板下面有這個外傾部分,即使你有混合衝浪板或搖桿衝浪板,當你在轉彎時,你也會靠著外傾部分彎曲,如果你通過後腿稍稍用力,你就會給衝浪板施加壓力,它就會在最後把你彈出彎
從入門到進階的單板滑雪轉彎技巧 – 快速提升祕訣! (From Beginner to Advanced Snowboard Turns – How to Improve Fast)
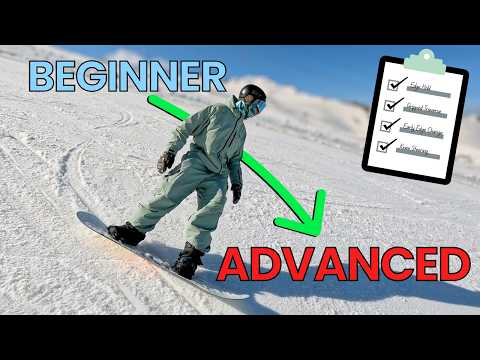
- Sink down, relax, lean into the slope and you'll have it.
蹲低,放鬆,靠向斜坡,你就會做到了。
只要五個簡單的動作就可以改變身材,還不快學起來! (5 Exercises That Fix 95% Of Your Problems)

- You're going to want to stand with your feet shoulder-width apart and your toes slightly turned out to a comfortable angle. Now slowly sink down into a deep squat position. Make sure to keep your heels flat on the ground, your chest upright, and your back neutral. Aim to stay in the squat for like 20-30 seconds at first and then gradually increase to like 1 or 2 minutes over time.
站立時,雙腳分開與肩同寬,腳趾稍稍外翻至舒適的角度。現在慢慢下蹲,保持深蹲姿勢。確保腳跟平放在地面上,胸部挺直,背部保持中立。剛開始時,目標是保持深蹲 20-30 秒鐘,然後隨著時間的推移逐漸增加到 1 到 2 分鐘。