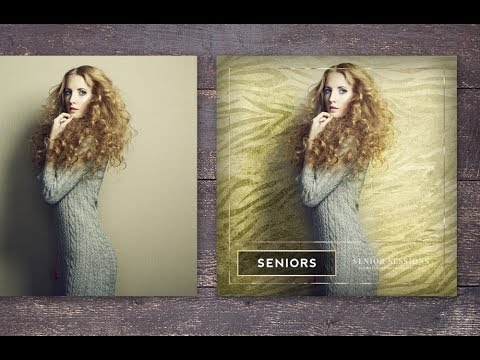
字幕列表 影片播放
hey everyone this is Jessica with Daily Designables
and I am here today to show you how to use my luxe metallic digital papers
as a photo overlay or a texture overlay
so to start off with I have this nice studio shot
and it's got a nice plain studio backdrop but I'd like to add a little
bit over visual interest to this
so I'm gonna do its use this stage opec paper pack from my website
and to start off with US Europe wanna the neutral ones a
I've color I some digital papers some other paper for a already
but I would grab the 1i the neutrals like this
and probably the darker one so I've already got that opened in Photoshop
here
one there we go so
I just wanna take my selection tool and dragged this layer
over my photo and now I need to resize it
so I'm gonna hit command T I'm on a Mac
or you could hit control teeny piranha when does I believe
that is the shortcut and holding down your shaft
you resize the earth tell you happy with it
hit return to commit and
now you've got that layer over your photo
I'm gonna go here to the blending mode and change that
overlay and already you can see
the coal effect that it has nevermind this for right now
and on this overlay mode it's nice because it keeps the shadows and
highlights behind them so it looks natural
and I'm going to just turn that offer right now
we're also gonna make a.m. color correction layer
so that we can better match be digital overlay to the color of your background
it's not going to make such a big difference on this photo cuz it's
actually kinda similar
but on other photos on you'll see it will make a difference
so this is basically an idiot he lehrer so you go over here
to your square tall and I miss gonna hold
a actually first off let my color go here the color picker
I'm just gonna pick where these Midtown's
have the tow so got that color
picked pay is my square tool gestionnaire
create that shape over it
got the color backdrop we're gonna
go over here to the layer mode change that to heal
and turn it off for now now we want to go back
turn on our digital paper overlay and we want
to or mask out this
part that's over the girl so we go to layer
layer mask reveal all
and then I'm gonna go here to my left pic
this gradient tool make sure it on the radio
make sure you've got black and I'm just gonna
easily make some little
gradients and mask that of
you can get a little more detailed if you want but this is a
miss overlays a very forgiving thing especially if you match it to your
backdrop
SanDisk annie is that and make some little gradients hold that down
just get that part that's over her
and don't worry if it's not perfect you can always go back in a just a little
bit
but I'm just using the gradient for a just a rough
roughly a mascot already looks great I mean
it's really forgiving and it matches this happens to match the background
really well
now I'm gonna go back here
that already looks really cool to me I'm gonna turn that
he layer on and you're not going to see much of a
difference on this one but I am on that this is important to go to layer
and I create clipping mask so I clip that he'll
to that digital paper elaire
so there you go you can mask that out a little bit more refined if you like
but if you match the color with that he layered the backdrop
it's pretty darn forgetting and I'm just gonna leave that up to 100 percent I
think it looks really cool
and if you see here you click this
double click your heels where you can actually change to
that he over the backdrop and this one doesn't show is a much different here
because it's a lighter backdrop but you're gonna really
see the different if you have like a darker backdrop
but it's pretty cool you can change it that's like a cool
that looks Kenny everything counts a lot of that hair like that how it is I like
the gold color
so that the first part and just for a little fun
Canada hit can get a flat my image
image here layer flatten image
I'm gonna drag descent went to my templates so
annie is this template here and as you can see a lot on my templates are really
multi-purpose
so we've got a family picture here but you know don't let that limit you
so or going affect Photoshop here take this
and got that template already open
and I'm going to drag this above the right
but the flicks a really cool I think this'll make a really gorgeous
blog traffic or something and
have got that in there I'm gonna head command he
or you could do control tea if you're on a Windows
gonna hold down the shift in resize that's a little bit
just I love this golden glamour collection I think it's just really
really pretty I love anything that shiny and sparkly
so can hit return commit that
and that looks pretty cool as you can see over here and got this
optional dark around the edges and that's going to make that border stand
out more
and I'm just going to right click here and duplicate this layer
because I want that little
edge to be more dramatic he could even do it again
a little more now I don't think I'll have that one out like that
and there you go you can use this as a
seen your style inspiration use this as a blog graphic
use this as a Facebook marketing graphic but I think it looks really great
so there you go and
that was just using two my templates so I hope you enjoyed this tutorial
and come back for more