Placeholder Image

字幕列表 影片播放

  • Welcome to how to cook that I am Ann Reardon Today we are making chocolate handbags

  • Firstly you'll need to print out the template from the howtocookthat.net website I'll link

  • to it below Cut a chocolate a transfer sheet in a rectangle

  • shape. Or if you don't a transfer sheet it's OK you can just use plain clear plastic instead.

  • Now cut all of the other shapes except for the triangles out of textured plastic so that

  • we get a pattern on the chocolate, and again you can use plain plastic here instead just

  • make sure that the plastic that you use is thick enough to be flexible but also thick

  • enough to be firm so that when you get the weight of the chocolate eon it it is not just

  • going to collapse on you.

  • Start with the two end pieces and cover them in some tempered chocolate or if you don't

  • want to temper your chocolate can use compound chocolate which has no cocoa butter in it,

  • just check the ingredients. Once it is covered move it to a new space so that you just have

  • the chocolate on the shape and not around the edge.

  • When it is firm to touch but it's not fully set flip it over and smooth around the edges

  • using your knife. Leave it to set and then peel off the texture

  • mat and your chocolate will have the pattern set into it.

  • Spread out some more chocolate fairly thickly on some non-stick baking paper and once it

  • is dry to touch but still soft cut out your two triangles and then let them set firmly.

  • Warm the base of a saucepan and gently press one side of the triangle on it. Then press

  • that melted side onto the non-patterned side of your chocolate and that's just going to

  • make like a stand so that it can stand up on its own.

  • Do that again wight he other one and once they are set we are on to our next step. We

  • need to spread chocolate over the transfer sheet.

  • Now the transfer sheets have a pattern on them that is made out of coloured cocoa butter.

  • When you put warm chocolate on it it melts the cocoa butter it's melting that coloured

  • cocoa butter and when it sets again the pattern stays on the chocolate instead of on the plastic.

  • Lift your sheet onto a clean piece of baking paper so that you just have those straight

  • edges of the rectangle. And then in the centre add the sides right

  • near the edge with the textured side facing outwards and the stand pointing into the middle.

  • Take each end of your transfer sheet and wrap it up and around the side pieces making sure

  • it is pressing onto them we don't want gaps in our bag. And then pinch it together at

  • the top. Now you are going to hold this in place until it is firm enough to let go.

  • Once it is completely set peel off the transfer sheet. And you can see how that pattern has

  • just stayed beautifully there on the chocolate and come off the plastic.

  • Now we want to trim off those extra bits from along the top.

  • Take a hot knife and patiently let it melt into the chocolate you'll need to keep heating

  • your knife until that piece comes free. Then you can fill your bag with whatever surprise

  • you like, put your ideas of what you think would be cool inside in the comments. I'm

  • just filling it with chocolate truffles here. Take the top of the bag and cover it in chocolate

  • just like we did for the previous pieces and then lift then it up. While it is still not

  • set so it still needs to be able to be melted on top so it will attach to the bag but make

  • sure it is not too runny because you don't want it to drip all over your bag. Flip it

  • over and curve it in your hand then apply it to the top of the bag there. And again

  • you'll need to hold it in place until the chocolate is firm because that chocolate is

  • wanting to straighten up. Once it is set you can peel the plastic off.

  • Now take the long strip and cover that in chocolate. Lift it up, bend it over and add

  • it to the top of your bag attaching it on each side.

  • Now I've also cut out a circle from the texture mat, you can use a chocolate button here if

  • you'd prefer. Cover it in chocolate and then move it to a new spot. Once it is set peel

  • off your plastic and dust it with some edible gold luster dust, you can get this at cake

  • decorating stores. Then just add a bit of melted chocolate to the back and add it to

  • the front of your bag. If you want you can also add luster to the

  • top of the bag, just tip it over while you do it so it doesn't go all over the patterned

  • part. You can get different looking bags by using

  • different transfer sheets and different coloured chocolate. And you can personalize it to make

  • it just how you want it to be. Subscribe to How To Cook That for more crazy

  • sweet creations Click here for last weeks handbag cake, here

  • to go to the channel and here for the website to get the template.

  • Put all of your requests in the comments below, have a great week and I'll see you on Friday.

  • [music: the Boat Song by youtube.com/setsailtv used with permission]

Welcome to how to cook that I am Ann Reardon Today we are making chocolate handbags

字幕與單字

單字即點即查 點擊單字可以查詢單字解釋

B1 中級

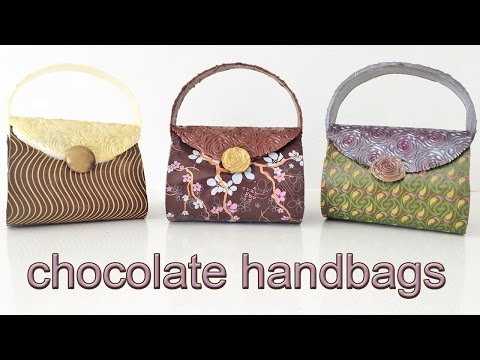
巧克力手提袋如何烹飪,安里爾東 (CHOCOLATE HANDBAGS How To Cook That Ann Reardon)

  • 60 11
    cathy~ 發佈於 2021 年 01 月 14 日
影片單字