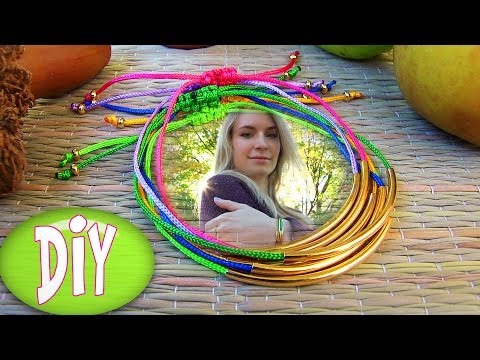
字幕列表 影片播放
Hi everyone, I have another bracelet tutorial for you today and I just love how quick and
simple this one is to make and on top of this it looks absolutely adorable.
So basically you just need to make simple bracelets like these ones and then you layer
them with different colors of string.
I really hope you like it and let's get started.
All you need to make these lovely bracelets are golden tubes some golden beads and different
colors of knotting cord.
For the tools you need an embroidery needle and scissors.
Jewelry making always recalls so many beautiful memories of my childhood.
As kids we were playing with my girlfriends outside all summers, and one of our favorite
things to do was making bracelets from flowers and willow trees.
Maybe that's why bracelet making is very close to my heart and walking into a craft store
still feels like being a child in a candy shop.
To begin, cut about 10 inches or 30 centimeters of string.
Take a golden tube and thread it onto a string.
If you don't have the golden tubes you can use any other beads that have a hole and can
be thread onto the cord!
Place the bracelet on the surface and cross the ends like so.
Now take another 10 inches of the knotting cord and we are going to make a simple sliding
closure.
Center the string over the two overlapping ends of the bracelet.
Take the left end of the string, go under the middle strands and over the right end
of the string.
See here I went under and here over.
Now take the left end of the string go over the middle strands and through the loop.
Pull both ends to tighten the knot.
Since I started on the left before, I need to start on the right this time.
Go under the middle strands and over the strand on the left.
With the left end of the string go over the middle strings and into the loop.
Pull both ends to tighten the knot.
Now start on the left again.
Go under the middle strings and over the right one.
With the right string, go through the loop and tighten.
For the next knot start on the right, go under the two center stands and over the left one.
With the left string go through the loop and tighten the knot.
Then just repeat this a few times, switching the starting side between left and right.
This is a basic square knotting technique and I like to use it for my sliding closures
because it's simple, quick yet very neat in the end.
This way the bracelet will be adjustable in size and we will easily be able to put it
on and take it off the wrist without damaging it.
Once your closure is about half an inch long, thread one of the string ends onto an embroidery
needle.
Sew up the center of three knots along the backside of the closure.
Do the same with the other end of the string.
Sometimes it's a bit difficult to sew through the tight knots so pliers can come handy if
you're struggling when pulling the needle.
Trim away the excess cord and melt the tips with the lighter for the extra hold.
To finish off you can just make a simple knot on each end of the bracelet's string or you
can thread on two beads first.
I decided to go for the beads and once they're on, I am just making a final knot on each
side of the bracelet.
Cut away the excess cord and melt the tips with a lighter.
It doesn't take more than 15 minutes to make this adorable bracelet.
I made six of them using different colors of string.
I think bracelets make such a perfect gift for your friends or yourself.
Taking time to make a present is much more valuable than buying something in a shop and
everyone appreciates cute little homemade gifts.
These bracelets look fantastic layered with other bracelets as well.
See how cute they look together with my heart bracelets which I made in my previous bracelet
tutorial!
So that's how easy this was.
Let me know if you try to make them yourself.
A few days ago I realized that my channel here on YouTube has hit ten thousand subscribers
so thank you so much for this.
Thank you so much for the amazing support and all the beautiful comments.
They really motivate me to film more videos for you guys.
So keep doing this.
I love you all so much and I'll see you very soon!